
 |
| Still steamy! |
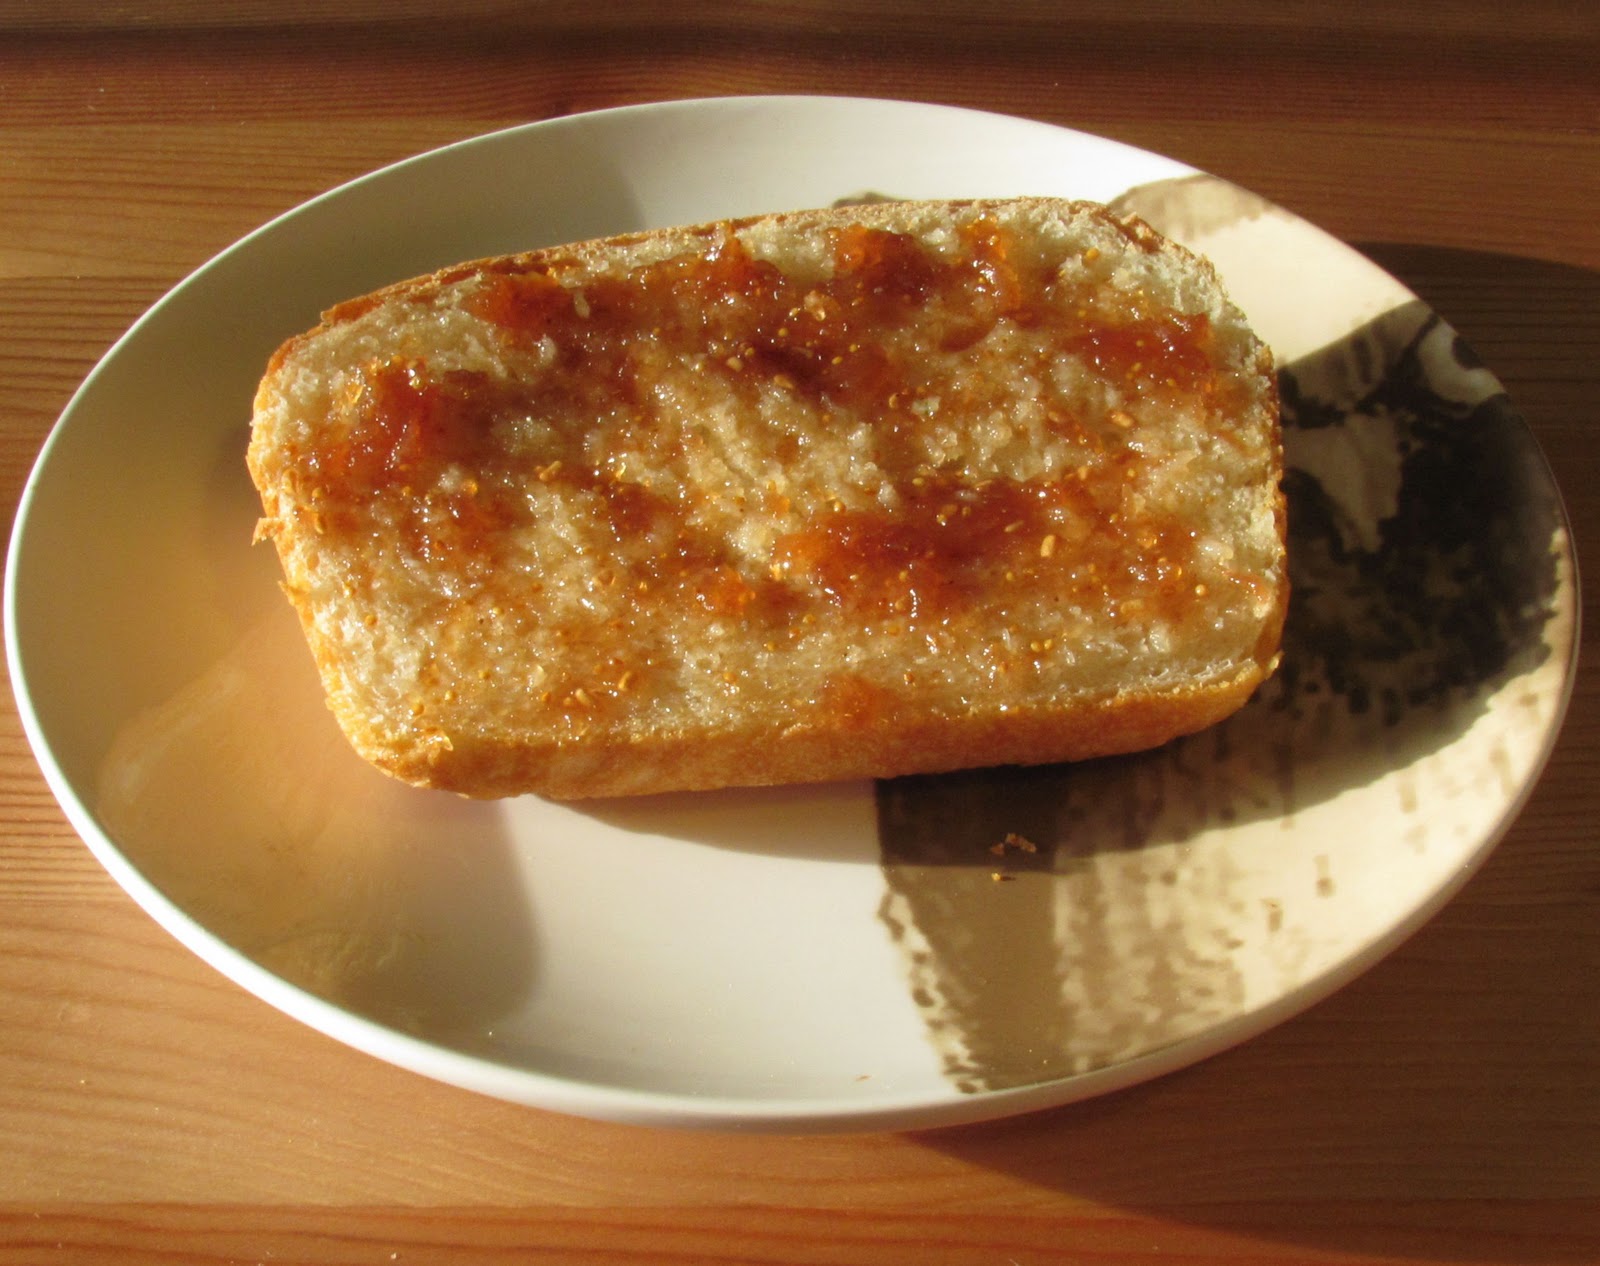 |
| A slice with home made Raspberry Fig Jam, made by Lauren |
Cozy Sunday- Big Beautiful White Pan Loaf
A few months ago I acquired the book Amy's Bread. It's a wonderful book with tons of beautiful looking bread recipes. So, as part of our much needed quiet, low-key weekend, I decided that I would try my hand at home-made bread. I thought that mindlessly kneading bread would be somewhat therapeutic, as I find most cooking to be. Plus, I have what I like to call "bread making hands". Sturdy, and wide palmed, I've always imagined that they were just meant to knead bread.
Well, I guess on some level it was therapeutic. But ask my boyfriend and he'd be telling you that for the first 10 minutes I was running around like a mad man, taking down any innocent man, or cat, that might stand in the way of making the perfect loaf of bread. The running around was entirely my fault, I should have prepped all my ingredients instead of just jumping in head first, and measuring on the fly. Alas I was not that quick at 9 this morning. Oh well.
Thankfully my haste had no effect on the quality of the bread. It was beautiful, and it was bangin'. So if you have a day where you're just hangin' in the house this recipe does take a while, but there's tons of down time, so you can catch up on any recorded TV you missed, or if you're real productive clean house! You can guess what I did...
Big Beautiful White Pan Loaf
1/4 cup Very warm water (105-115 degrees)
1 3/4 teaspoons Active dry yeast
2 1/3 cups Unbleached bread flour
1 1/2 cups plus 1 tablespoon Unbleached all-purpose flour
2 3/4 teaspoons Kosher salt
1 cup Cool water (75-78 degrees)
1 cup less 1 tablespoon Cool milk (75 degrees)
1 tablespoon Canola oil
1. Combine warm water and yeast in a small measuring cup and stir with a fork to dissolve the yeast. Let stand for 3 minutes.
2. Mix the flours and salt together in a large mixing bowl. Add the yeast mixture, cool water, milk, and oil. Using our fingers, mix the dough into a sticky mass.
3. When all of the flour is incorporated, move the dough to a lightly floured work surface and knead for 4 minutes. The dough should be sticky and will not look smooth. If the dough feels firm or dry, knead in additional cool water a tablespoon at a time.
4. Put the dough back into the mixing bowl, cover with oiled plastic, and let rest for 20 minutes to smooth out and develop elasticity.
5. Return the dough to the lightly floured surface and knead it for 6-7 minutes. The dough will already feel stretchy, and will become smooth and develop strength with kneading. Do not knead extra flour into the dough. It should be soft and loose.
6. Place the dough in a lightly oiled bowl. Cover the dough with oiled plastic wrap and allow it to rise at room temperature for 1 hour.
7. After 1 hour, turn the dough while it is still in the mixing bowl. Gently deflate the dough in the middle of the bowl with your fingertips, then fold the left side over the middle, and the right side over the middle. Fold the dough in half, gently pat it down, and then turn it over sot the seam is underneath.
8. Let it rise again for 1 to 1 1/2 hours. When the dough is fully risen, and indentation made by poking your finger deep into the dough should not spring back.
9. Place the dough on a lightly floured surface. Gently deflate the dough and pat it into a rectangle with the short sides at the top and bottom edges. Shape the dough by folding the top to the middle, then the bottom to the middle, then give it a quarter turn and repeat. Pat the seam to seal it. Now fold the top third of the dough over itself with one hand. With the heel of your other hand, gently press the seam to seal it. Repeat this process about three times, until the loaf is a nice round log. Seal the final seam completely with the heel of your hand. If any dough is protruding from the ends, poke it back with your finger.
10. Place the loaf seam side down in a lightly oiled 9 x 5-inch loaf pan. Gently press down on the loaf to spread it to fill the corners of the pan, and cover it with oiled plastic wrap. Let the loaf rise for 1 to 1 1/2 hours, until it has doubled and risen about 1 inch above the sides of the pan*.
11. Thirty minutes before baking, preheat the oven to 450 degrees, and prepare the oven by placing a cast-iron skillet and a smaller pan on the floor of the oven. Fill a plastic spray bottle with water. Fill a teakettle with water to be boiled later, and have a 1 cup measure ready near the kettle.
12. Five to 10 minutes before the loaf is ready to bake, turn the water on to boil, and carefully place two or three ice cubes in the small pan in the bottom of the oven. This helps to create moisture in the oven prior to baking.
13. When the loaf is ready, quickly but carefully fill the 1 cup measure with boiling water, open the oven and place the loaf pan on the oven rack; then, using the plastic spray ottle, quickly mist the loaf 6-8 times**. Quickly but carefully pour the boiling water into the cast-iron skillet and immediately close the oven door.
14. Bake for 15 minutes, then reduce the oven temperature to 375 degrees. Bake for 20-25 minutes longer, until the top is a deep golden brown.
15. Remove the loaf from the pan, it should come out with ease. The bread should sound slightly hollow when tapped on the bottom, and the sides of the loaf should be brown. Place the loaf on a wire rack to cool. Serve slightly warm, with butter and lots of jam!
* I totally jumped the gun and the loaf had only risen about 1/2 or 2/3 of an inch.... I couldn't wait any longer!
** I did not have a spray bottle... so I flicked a bunch of water using my fingers.... true story.
Lots of patience but well worth the wait. The bread was delicious!! Just one word of caution; I stupidly put a small glass Pyrex dish in the bottom of my oven and when I put the ice cubes insdie it, it shattered. Make sure you use a tin, steel, or aluminum pan for those ice cubes!
ReplyDelete